Why this comes first
A swale that is not level is a drain. A check dam built off contour concentrates flow at one end and blows out. A terrace with a fall in it erodes from the low corner.
Every water-harvesting earthwork depends on a line that is genuinely level along its length. Eyeballing a slope does not work. Human perception of level is poor on sloping ground, and errors of a metre over a hundred are easy and invisible.
The good news is that finding contour accurately needs almost no equipment. Two of the three tools below cost nothing.
What a contour actually is
A line across a slope where every point is at the same elevation.
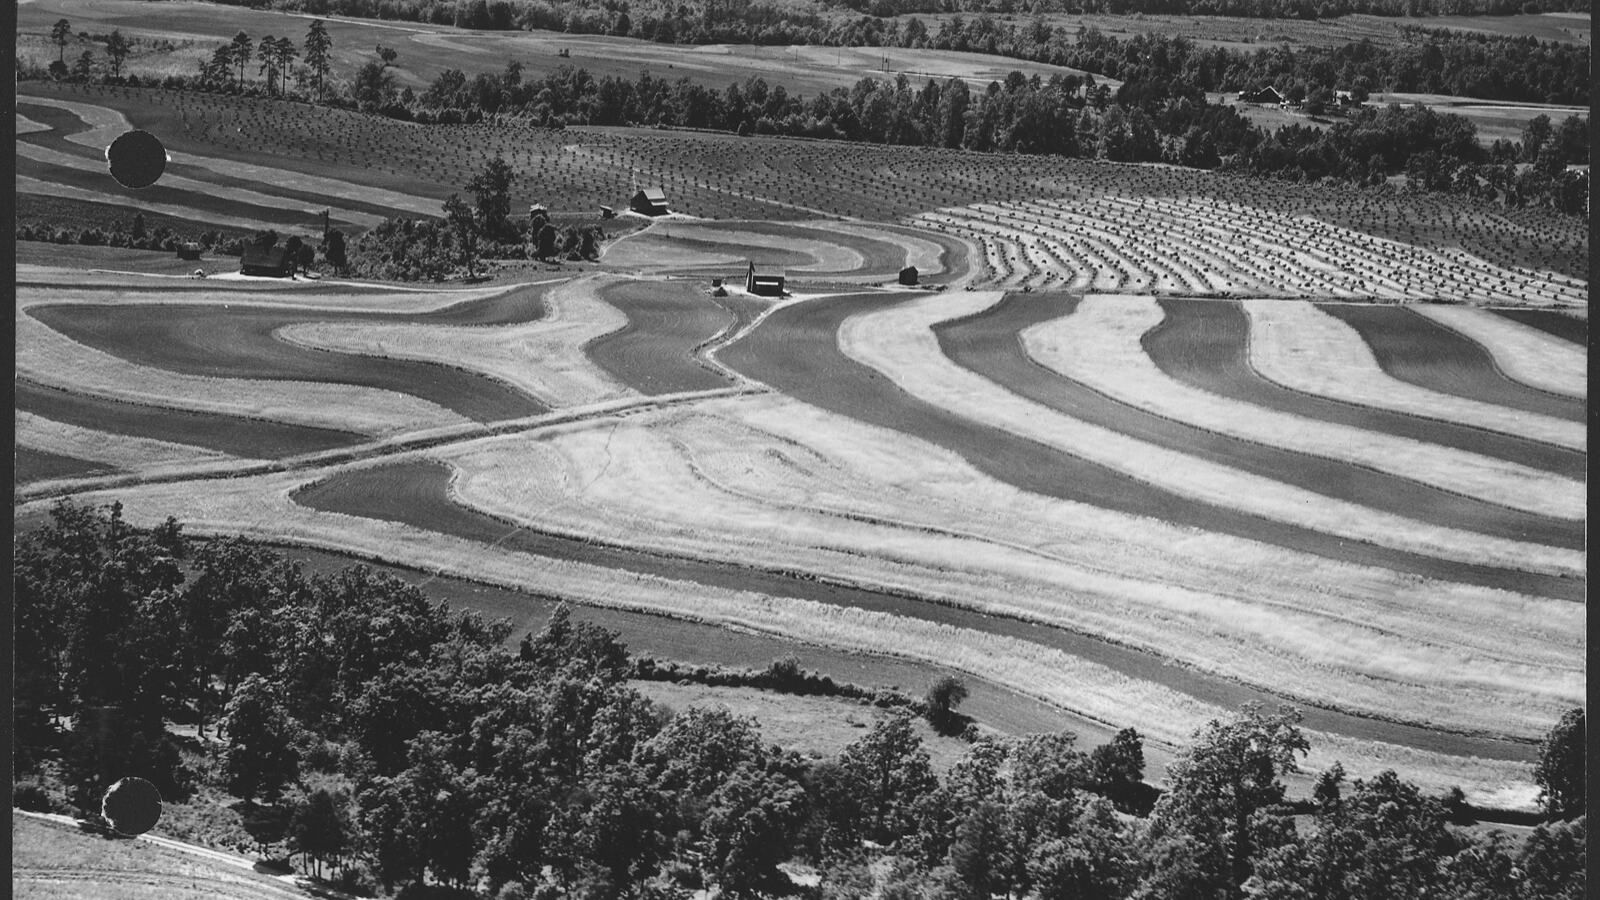
Follow it and you neither climb nor descend. On a real hillside it wanders considerably: pushing out around spurs and ridges, cutting back into valleys and gullies. It is never straight, and a contour line that comes out straight on undulating ground is wrong.
Water sitting along a true contour has nowhere to run. It spreads along the whole length and soaks in evenly, which is the entire point.
The A-frame
The oldest and most reliable field tool. Two legs joined at the top, a crossbar, a plumb bob hanging from the apex.
Build it. Two straight lengths about 2 m, joined at the top, spread to about 1 to 1.5 m at the feet, with a crossbar between them. Hang a string with a weight from the apex so it swings freely past the crossbar.
Calibrate it. This step is essential and often skipped. Stand it on the ground and mark where the string crosses the crossbar. Then swap the legs end for end, putting each foot exactly where the other was, and mark again. If both marks coincide, the frame is true. If not, the true level point is exactly halfway between the two marks. Mark that midpoint and use it.
Calibration removes any error in construction, which is why a roughly built A-frame is as accurate as a carefully built one.
Use it. Put one foot on your starting peg. Swing the other foot along the slope until the string sits on the level mark. Peg that point. Pivot the frame on the new peg and repeat. You walk the contour one frame-width at a time.
Accurate, needs no power, works alone, and costs the price of three sticks. It is the tool that has built most of the world's contour terracing.
The bunyip or water level
A clear tube filled with water, held by two people. Water finds its own level, so the surface in each end is at the same elevation, always.
Usually a long transparent tube, 10 to 20 m, sometimes attached to two graduated staffs. One person stands at the known point, the other moves until the water in both ends reads the same mark.
Faster than an A-frame over distance, works around obstacles and across dips, and it is genuinely accurate. Two-person job, and you must get every air bubble out, because a bubble puts a fixed error into every reading you take.
Laser and optical levels
A rotating laser on a tripod and a receiver on a staff. One person, fast, and accurate over a couple of hundred metres.
A dumpy or automatic level with a staff does the same thing optically and needs two people.
Worth it if you are laying out a lot of earthworks, doing anything with deliberate grade, or working on a site where precision matters, such as a dam wall or a drain that has to fall consistently.
For a garden swale, an A-frame is genuinely sufficient. The laser is faster, not more correct.
Marking and reading the line
Peg as you go, at intervals close enough to capture the shape of the ground: every 2 to 5 m on complex slopes, further on uniform ones.
Then stand back and look at the line of pegs from a distance. This is the step that catches errors. A contour should flow smoothly, swinging out at spurs and in at valleys. Any sharp kink is a mistake in your surveying, not a feature of the land.
Walk it and check. Then adjust the pegs until the line reads smoothly. A slightly smoothed line is better than a jagged accurate one for anything you have to dig or drive along.
Record it. Photographs from a fixed point, or a GPS track. You will want the line again.
Level, or deliberately not
Not everything should be on contour, and knowing when to break level is the mark of someone who understands the tool.
Truly level for swales, infiltration basins, and anything whose job is to hold water and let it soak. Also for tree planting lines on slopes.
Slight fall, roughly 1:200 to 1:400, for diversion drains that must move water somewhere without eroding. Fast enough not to silt up, slow enough not to scour.
Keyline pattern, deliberately off-contour. Keyline design cultivates on a line that falls very slightly away from the valley toward the ridge, moving water out of wet valleys onto dry ridges. It only works because the geometry is understood and controlled, and it requires knowing exactly where true contour is before you deviate from it.
Terraces need level beds and a controlled overflow route.
In every case you need the contour first. It is the reference from which any deliberate grade is set.
Read the slope before you mark it
Before pegging anything, walk the site after heavy rain and watch where water actually goes. Slope maps and contour surveys tell you the shape; runoff tells you the behaviour, including the compacted paths and buried structures that no survey shows.
Water mapping covers this properly, and site reading covers the wider assessment. Observation first is the general principle, and it applies with particular force to anything involving a digger.
Check slope percentage too, since it constrains what you can build. Swales are generally sensible up to about 15 percent; above that, terraces or tree planting are safer, and very steep ground should usually be stabilised and planted rather than cut. See erosion control and earthworks.
See also
- Swales the main reason to find contour
- Earthworks shaping land once the lines are marked
- Keyline Design deliberately leaving contour
- Check Dams level structures across drainage lines
- Water Mapping understanding flow before marking
- Erosion Control when the slope is too steep to dig
- Rice
- Contour Bunds
- Half-Moons and Microcatchments